First off rejet your carbs for -20F and your lowest altitude.
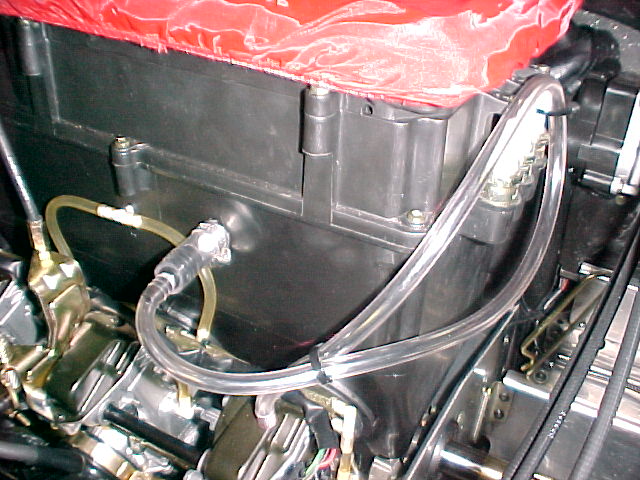
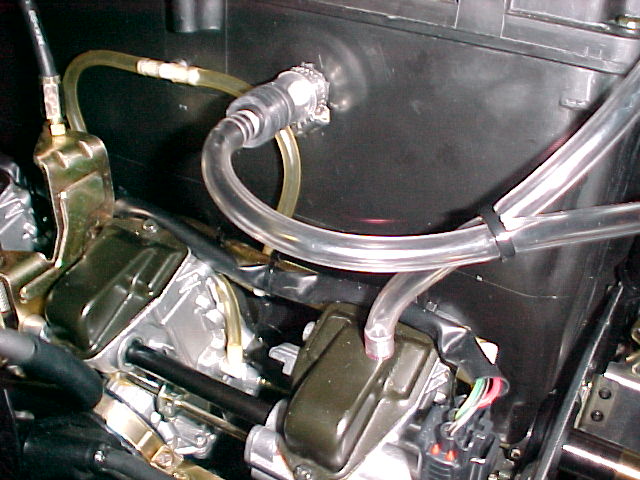
Then, take off your clutch side carb top or any you prefer. It is black and is held on by two screws. Drill the appropriate hole according to the Holtzman's directions and in a safe non-interfering place. You can see in the photo the location I used. Put in the adapter with adhesive or loc-tite and swage it over like a rivet from the back side to hold it in place tightly. Again Holtzman has provided good instructions on doing this so follow them.
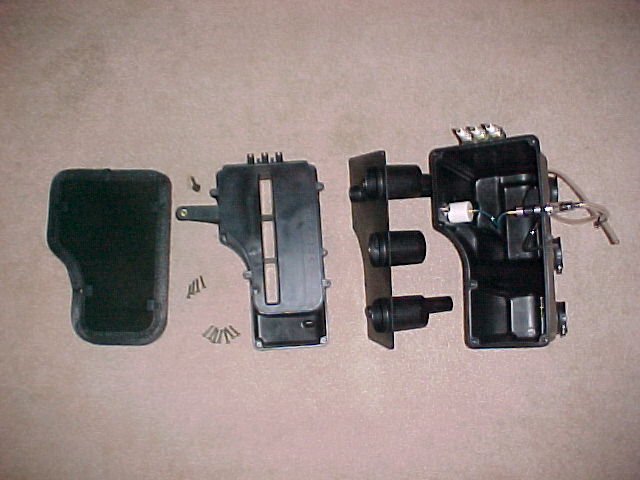
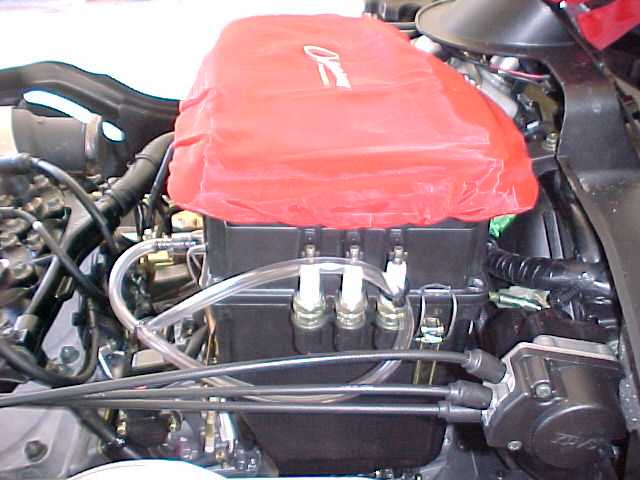
Third, remove your entire air box and disassemble (see photos).
Fourth, remove the vent line plug which is in the lower center of the air box. You can use this hole to run your short vent line from the compensator to the factory "T".
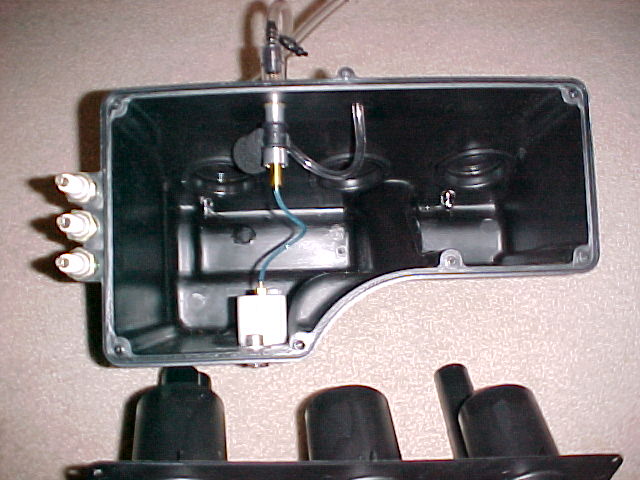
5th, using the baffle as a template locate a good place in the lower part of the air box to drill the appropriate holes to mount the compensator (black) and control chamber (white). I put mine so they fit right between the two large down pipes. Drill holes using correct size bits (see directions). Make sure that the white control chamber is lower than the compensator. That was my first mistake and I had to plug hole and redrill. Install compensator using a 1 3/4" minimum 1/2" dia. tube on the outside of the air box with a hose clamp to hold it in place. Put the long black reducer supplied in the end of the tubing.
Now cut off a small piece of 1/4" tubing to use to connect the "T" from your carb vents up to the compensator. Make sure you leave yourself 24"-28" of the 1/4" tubing to use for the hookup from the compensator to the carb vacuum fitting you installed earlier.
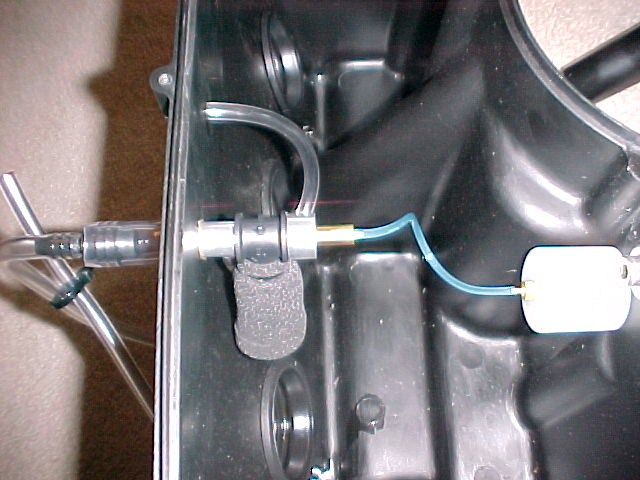
Put the black compensator vent filter foam supplied directly onto the bottom of the compensator and attach with a zip tie for security.
Now you can attach the white control chamber to the other side of the box making sure to tighten the nut while holding an Allen wrench in the end of the bolt to keep it from spinning.
My other mistake was I cut the small blue hose that attaches the compensator to the control chamber. DO NOT CUT THE BLUE HOSE! It comes in the exact length of 5" and it all must be used to work properly. On a high pressure day (clear) at your lowest altitude you can plug the blue hose onto the compensator and control chamber.
Make sure everything is secure and no leaks. Now put everything back together and wal-la you have a Viper with Altitude and Temperature compensation.
Use my directions and photos at your own risk!