How to-Cylinder
Leak down test by Daman
For folks that may not know how this test
is performed or why it should be done here is a basic procedure. It's easy to do and the right way to diagnose
ring condition. When rings are overly worn
and not sealing like they used to, due to high mileage or the use of inferior
cheap oil's, you end up with blow by.
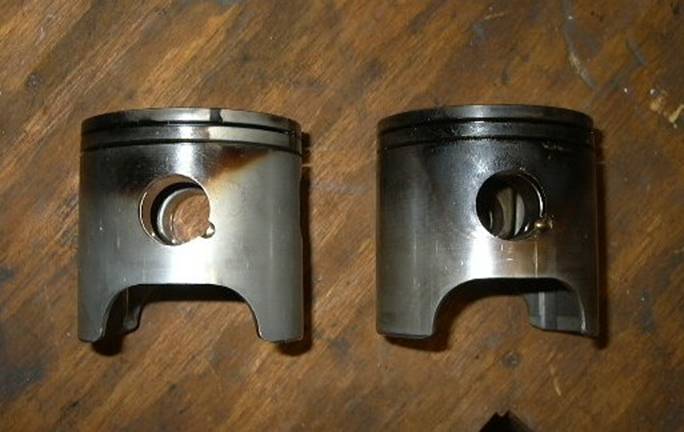
Exhaust gases leak by the piston rings and
are inhaled back into the combustion chamber, hindering performance.
A leak down test is usually performed in the event one suspects the rings are
worn and may not be sealing like they used to.
Indicators include reduced performance or decreased throttle response in
relation to past experience. A leak down
test can also be used to confirm the time is right for a freshening up.
Getting Started
I usually do this test cold AND at
operating temp just to get an average of both conditions.
The tools required are:
·
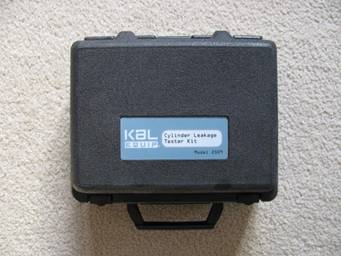
Leak down tester. There are many different brands on the
market and all work about the same. I
happen to have a KAL Equip Model 2509.
The cost, I think, was $80US.
Nice tester.
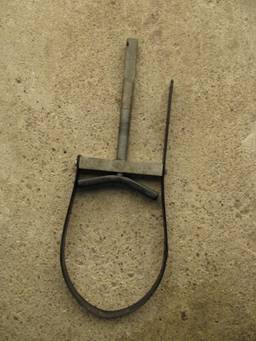
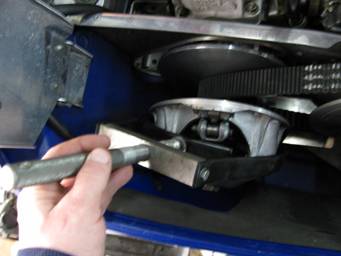
· Primary sheave holder or if you don't have this tool you can use a piece of wood wedged in the primary. Having the right tools makes the job that much easier without the risk of damage.
· An air compressor capable of 125 PSI
Test Procedure
Warm the sled up to
operating temp, or if you desire to do the test cold, pull the first plug. It doesn't matter where you start, like I
said, I do it warm near operating temp and cold.
Remove first plug...
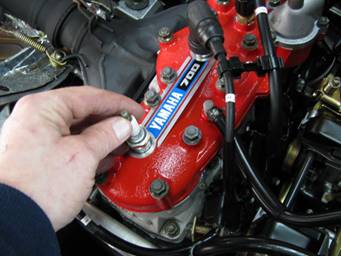
Next you will need to get piston up to TDC
(top dead center). This is very
important as you'll get false readings if the piston is not at TDC. I just use an old pencil or a piece of dowel
rod inserted through the plug hole, down into the cylinder. I then roll the engine over by hand until TDC
is achieved (pencil is at the highest point).
After TDC is achieved, go ahead and secure
the engine/crank with your primary sheave holder, you don't want it rotating when
you start adding air pressure.
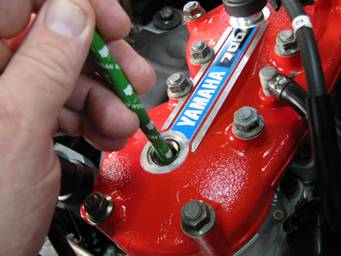
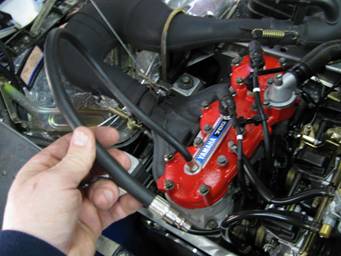
Next you need to attach the hose to the
cylinder. Just screw it into the spark
plug hole like a compression tester.
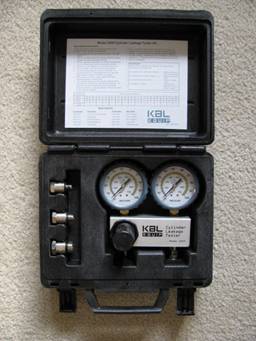
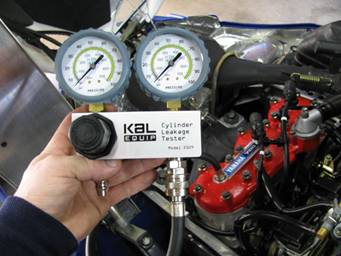
Then attach the gage. The left hand side gage is pressure in from
your compressor. The right hand gage is
the regulated pressure out from the leak down tester or the pressure going into
to the cylinder.
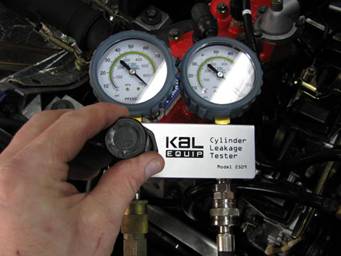
Next attach your shop air hose to the gage
and turn dial clock wise to start adding pressure (PSI).

Turn the dial to the desired pressure. In my case I'm adding 100 PSI of
pressure. Anywhere from 100 to 125 is a
good rule of thumb.
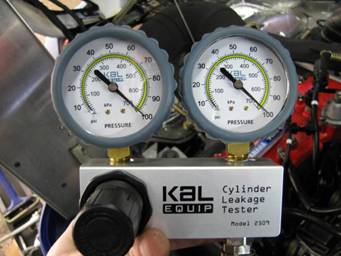
Once the desired pressure is achieved, take
note of the right hand gage and its reading.
After 5-10min you want it to read as close as possible to the left hand
gage for a good/passing test. That means
the cylinder has good rings that are sealing well. You don't want more than 10% leakage. For example: if you’re adding 100 PSI (left
gage) to the cylinder, it needs to hold at least 90 PSI (right gage) to pass
the test. Personally I don't like seeing
any more than 5% and in my opinion 10% is too much. 10% is the ‘standard’ so that’s what we'll go
with.
As you can see this cylinder passes with flying colors, 100 PSI is going
in and it's holding 99 PSI, almost perfect.
Next, dial down (reduce pressure) your
tester and remove your hose, then replace spark plug, your done with the first
cylinder.
Next, you
do same exact procedure as shown above for the remaining cylinders.
That’s
it! You've successfully pressure tested
your rings and you now know what condition there in. I like doing this test every few seasons just
to keep an eye on engine performance and the health of the rings. It's just a good thing to do along with your
other preventative maintenance.
This test was done on my 2001 SXR 700 with 1500 miles of Amsoil Interceptor
synthetic oil used since new.
1/20/2010