RX/RS/Apex Jackshaft
Bearing Removal and Replacement
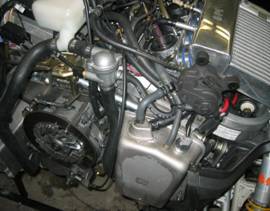
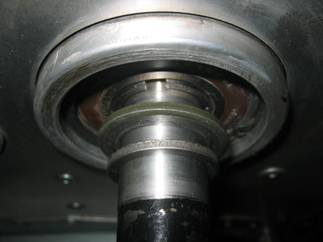
We had a customer's secondary clutch do something bad to
the jackshaft bearing grease seal on an '04 RX
yesterday. Bearing looked OK, but it still needed to be replaced.
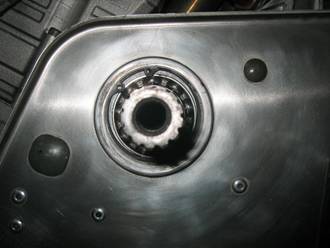
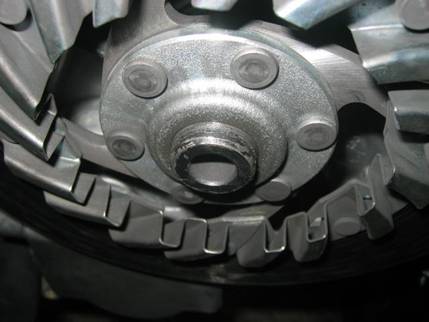
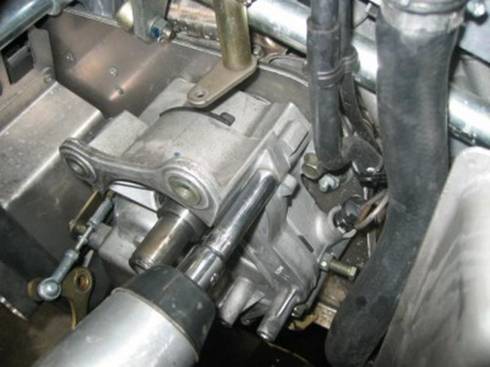
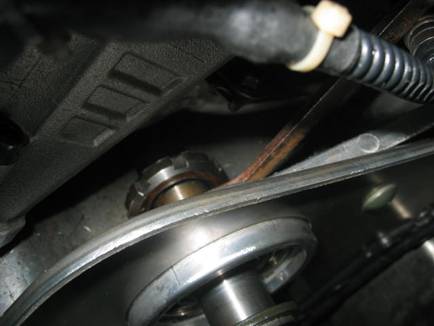
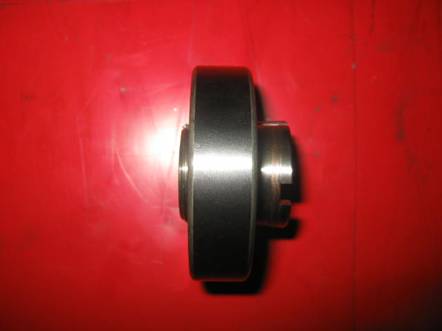
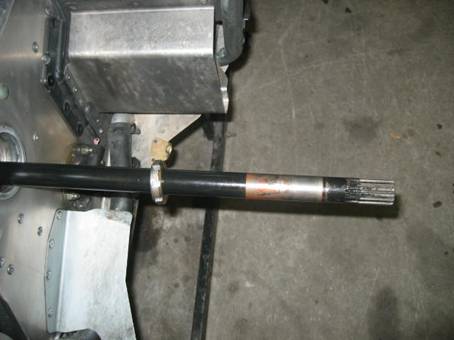
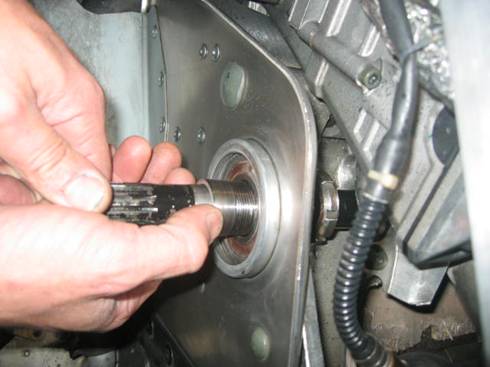
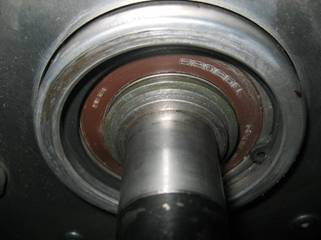
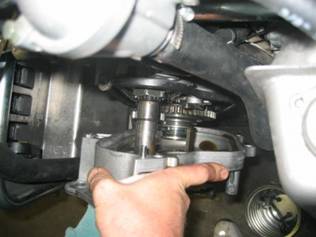
First pic is the bearing (PTO
side) after washing with Brake cleaner. Remove the C-clip in the picture and
then start on the chain case side.
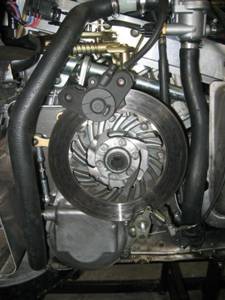
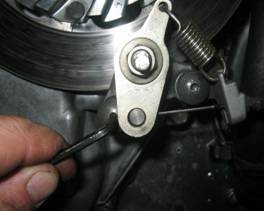
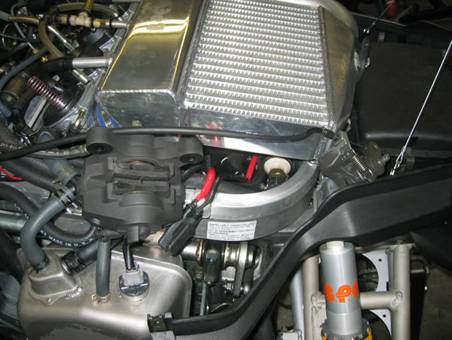
Remove the (2) 12mm bolts that hold the brake caliper in
to the chain case. Lay the caliper on top of the air box (intercooler in this
case) and then move on to the emergency brake assembly. Remove the two Allen
head bolts as pictured and place next to the caliper.
A C clip holds on the brake rotor. Remove the clip and
keyway from the shaft.
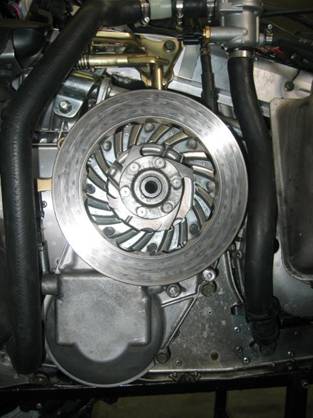
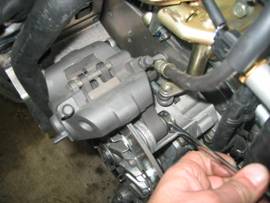
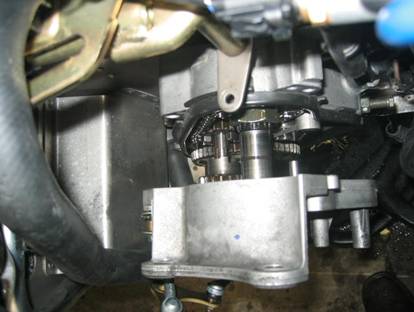
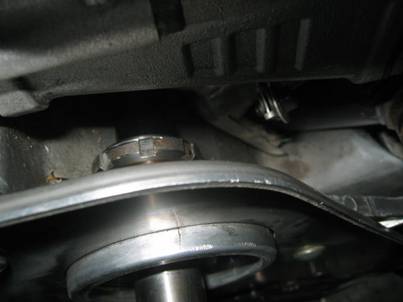
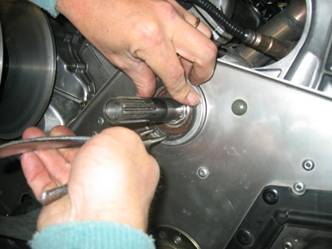
The collar in the above picture is held in place by a #25 Torx head set screw. back the
screw out a few turns and then pull the collar off of the shaft. if your sled has reverse, disconnect the shift lever from
the chain case and remove the 10mm bolt from the chain case cover.
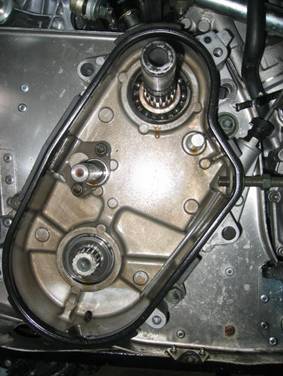
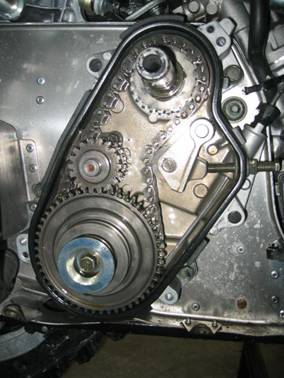
Remove the cover from the chain case.
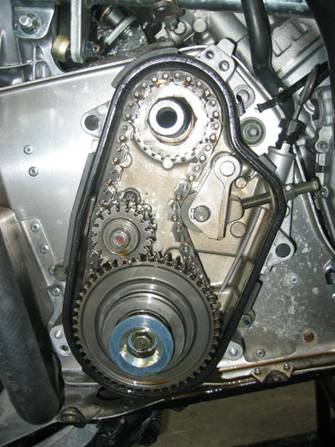

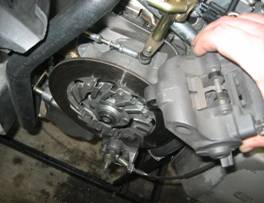
Remove the chain tensioner,
top/bottom gears and chain. You're done on this side for now.
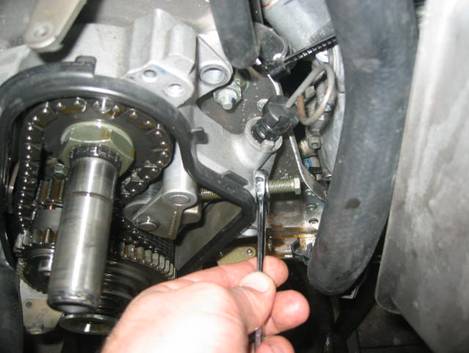
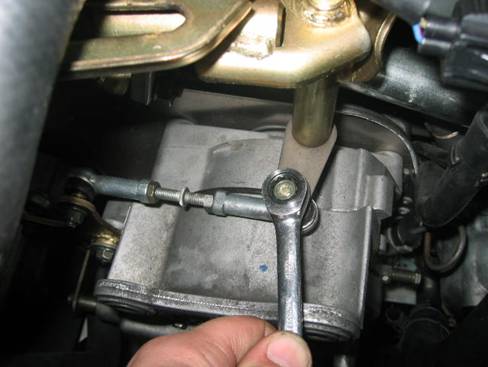
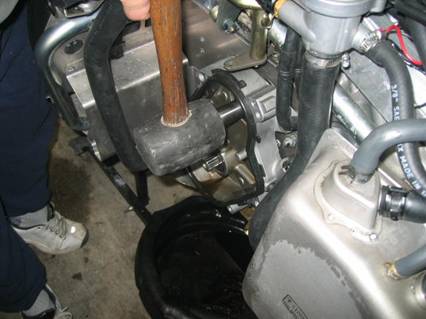
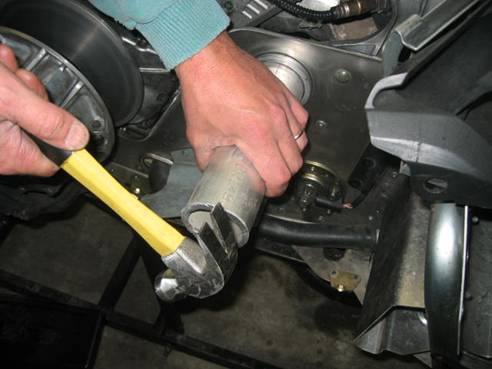
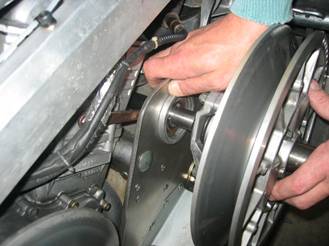
You'll need some kind of tool to hold the locking collar
in place when starting to remove the bearing. Pictured is an old Ohlins shock wrench which works
well. Reach in behind the bearing and hold the collar in place with the tool.
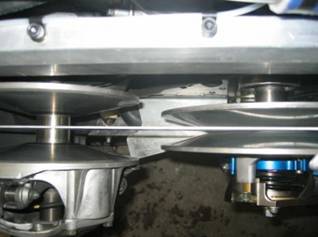
Put the secondary back on the shaft backwards, and
rotate counter-clockwise.

A few good taps with a rubber mallet (or hammer and block
of wood) should pop the shaft out of the chain case.
Use the shaft as a 'ram' type puller to remove the PTO
side bearing. 3-4 good tugs on the shaft and the bearing should pop out. You
can heat the bearing seat if necessary to make removing it a little easier.

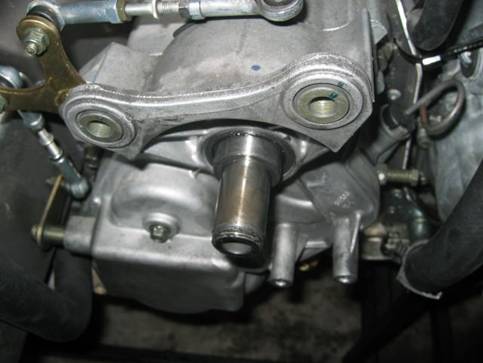
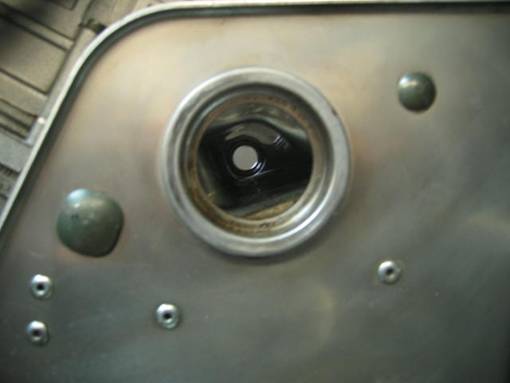
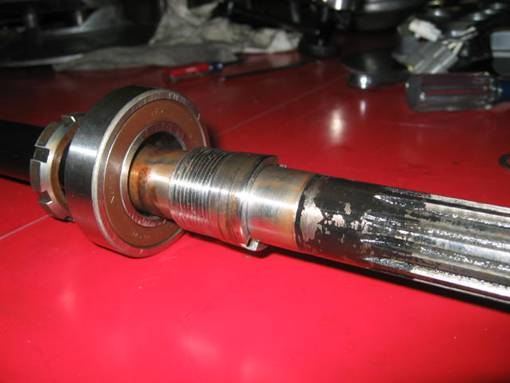
Jackshaft on the bench with the nut
& collar as they come out of the sled. Bulkhead
waiting on new bearing...
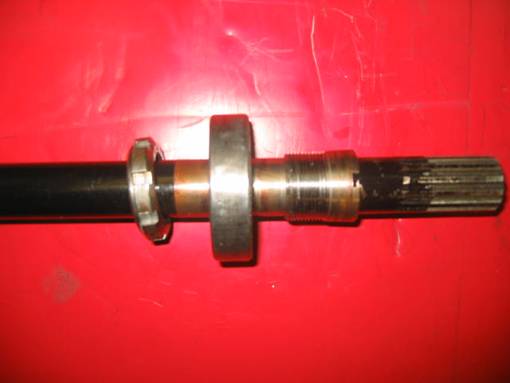
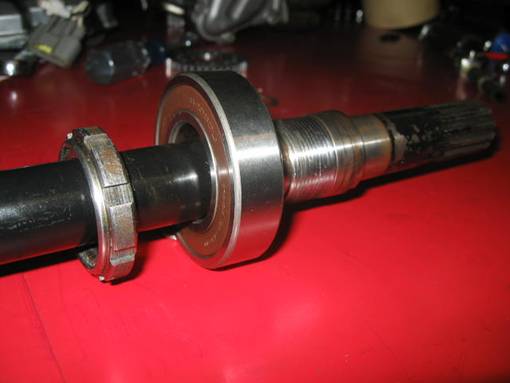
This is a pic of the collar, nut
and new bearing on the shaft in the correct orientation. The bearing is tapered
(note how the collar only fits flush in one direction). Double
check that you have the bearing facing the right way before installing).
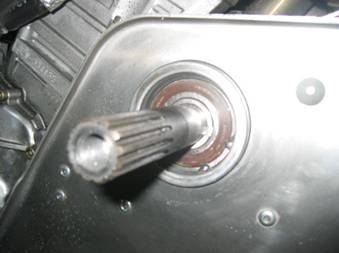
Locking nut on the shaft and then
slide in from the clutch side.

Double check the bearing has the wider
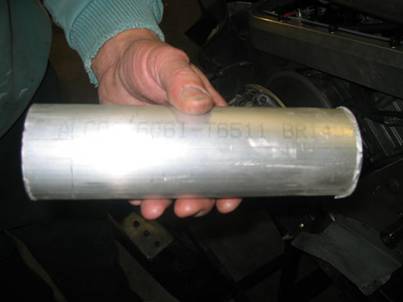
part of the taper facing out and then seat it in. The piece of aluminum
pipe in the pictures is 2" O.D. Toss the bearing in the freezer (or leave
it outside for 1/2 hour) and apply a little heat to the bearing seat and it
should go in with a few easy taps.
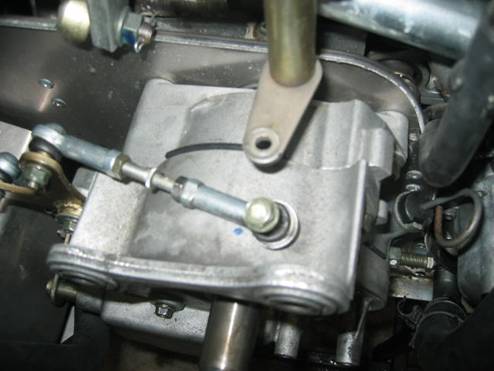
Slide the collar over the shaft and get it started on the
locking nut. Use the secondary (reversed) again and a shock wrench to tighten
collar in place. Finally, install 'C' clip.
The recessed washer & spacer go on next. Recessed side
of spacer goes against the bearing.

Button up the chain case, add oil and double check you
alignment & offset.

This isn't a bad job to do if you're doing it on your own
terms. If the sled gets to decide when it has to be changed, you're going to be
in for a LOT more effort, and the bearing might be only one of the parts that
you have to replace...
Totallyamaha is not responsible for any damages that these modifications
may cause to your vehicle; any modifications are your responsibility if you
choose to do so. We are providing information ONLY. Some of these modifications
may VOID your warranty and that is your responsibility to look into. The Totallyamaha users have passed along most of the
information found on this site. If you have any questions or concerns about
anything on this site talk to your dealer before using any of the information. Totallyamaha will not be liable for any damages or personal
injury from any modification performed from this site.
![]()