Tracks USA 136 rail extension install
for Yamaha pro-action rear suspensions
A lot of us are stretching our 121” sleds to accommodate more off trail riding extension kits vary by mfg. Most of us choose to use a rail extension that will utilize a full length hyfax verse an extension that just sits the rear axle back 7.5” and uses the stock 121 hyfax. For this install we are using a quality built Tracks USA’s rail extension kit.
Please refer to the tech pages for skid & track removal or click "HERE". With the skid out is where we will start the directions. Remove rear axle assembly noting where all washers and spacers are located. (if you cant remember the Yamaha microfiche has an exploded view to refer to) drill out the rivets that hold the rear axle/track adjusters on (there are 4 on each side), punch the rivets out of the rails and then the adjuster itself, make sure to use a punch to drive them out because if you hit them with a hammer they will expand and not be fun to remove.
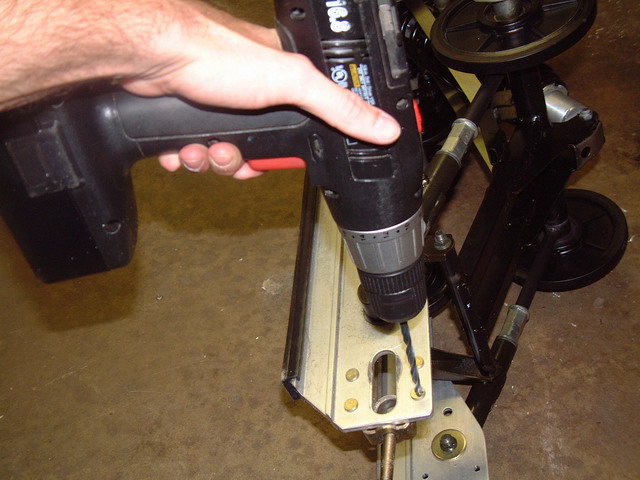
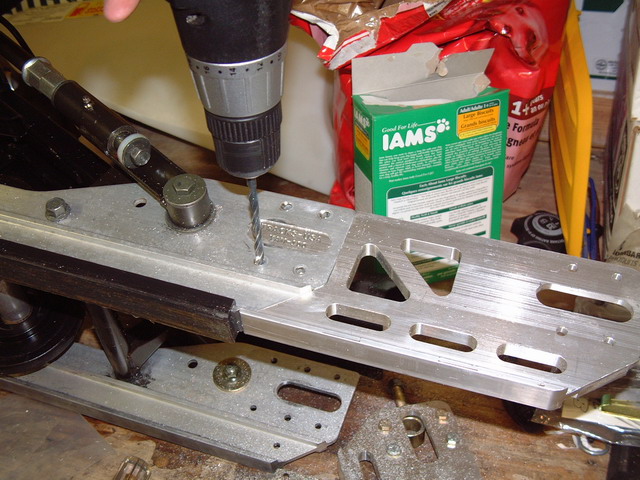
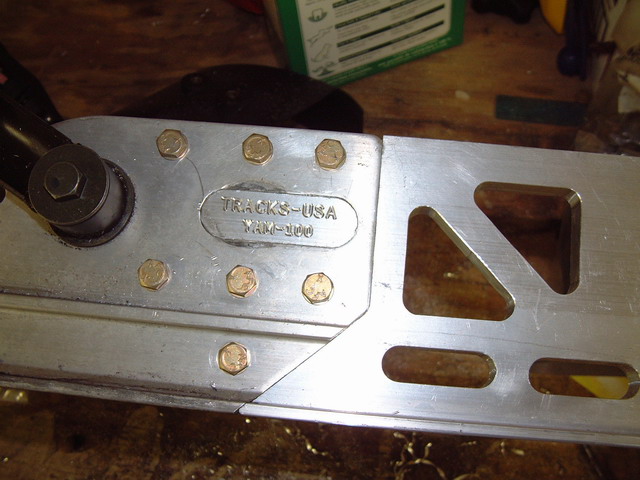
Remove the hyfax from the rail, this will give you a clean rear end section with nothing in your way. The extension is machined to tight tolerances and the rails need some massaging to fit properly. With that said, take a file or a Dremal and open up the rail (not the extension) where the adjuster used to be, and the very end of the rail itself. Fit the extension to the rail (you’ll need to do this several times.) The extensions are installed from the center of the skid frame with the TRACKS USA name boss facing outwards. It is important not to trim too much off, so the rails fit tight to the extensions. Basically you want the bolts to draw the two pieces together creating a tight fit. After fitting extensions to the rails and they are close and before bolting them together you need to drill a few holes. It works very good to use the opposite rail extension as a template on the outside of the skid rail for drilling the holes as most drills cannot fit between the suspension rails to drill the holes. Be sure to DEBURR the holes after drilling them. You need to drill two holes in the forward section of the rails through the extension and one hole just above the hyfax line on the lower portion of the rail.
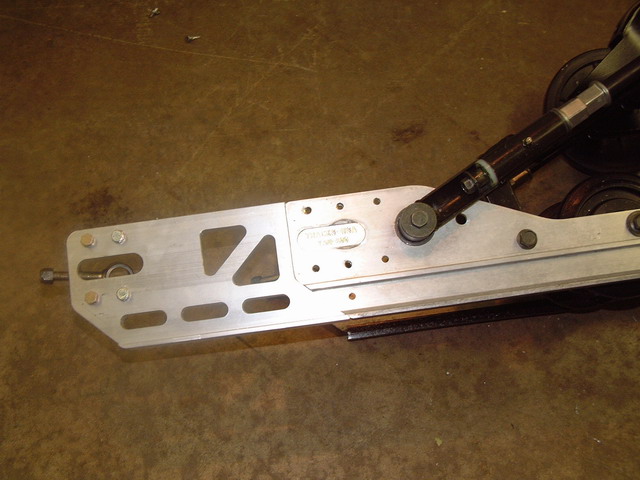
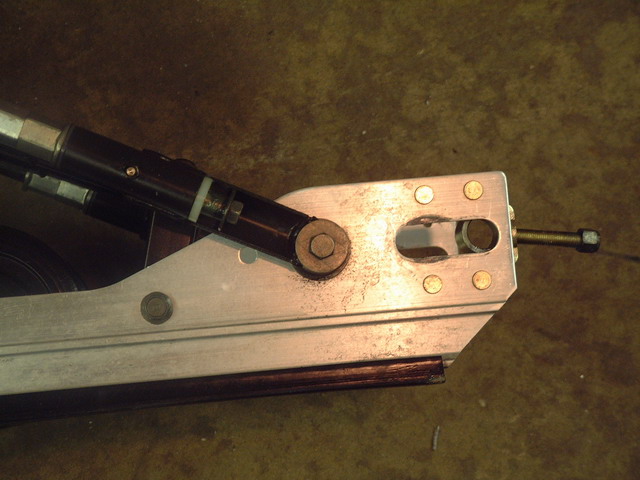
Now installing the extension and starting the bolting process you will note there are two unused holes in the rail where the adjuster used to sit. You can do two things, you can leave the holes unused with the rail extension blocking off the backside. (See Pic)
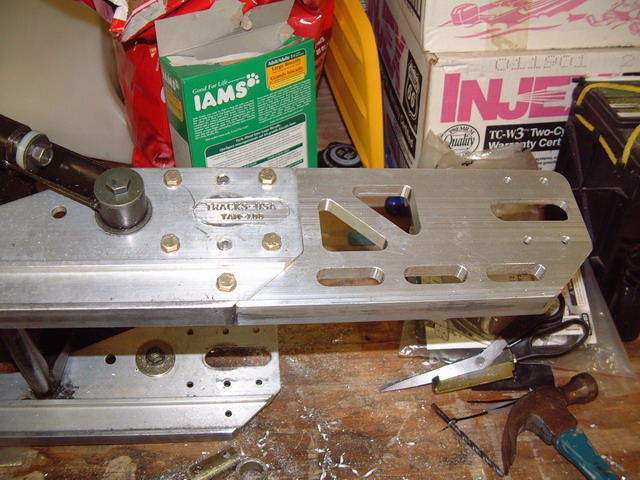
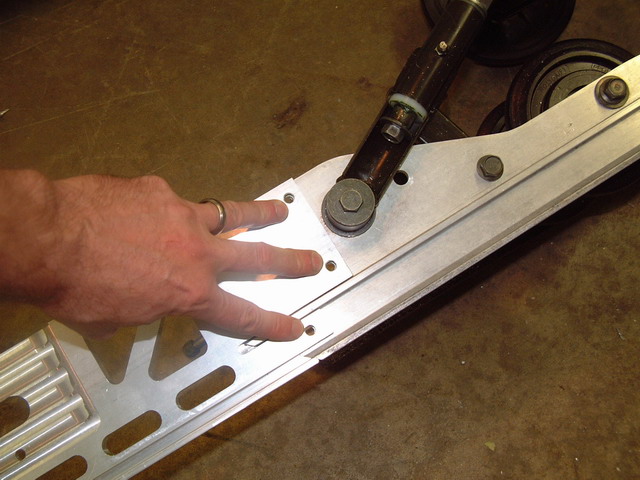
Or you can drill through the rails into the extension and add two bolts. This will give you a cleaner more finished look and although not required. (See Pic) I opt for the latter of the two, but the choice is yours.
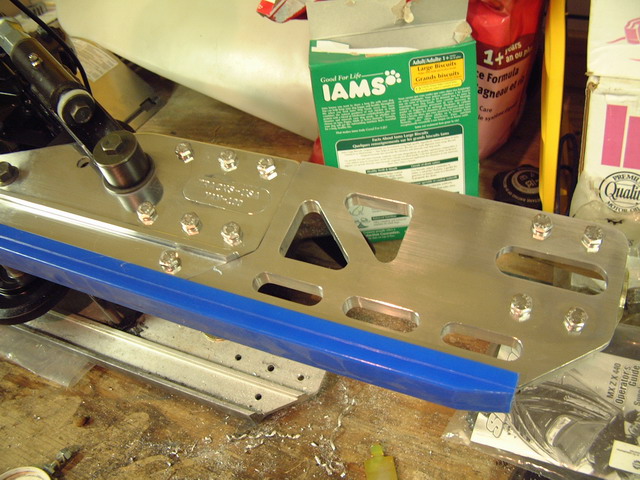
If your adding the bolt holes to the kit, its off to the hardware store for 4 stainless bolts, nuts and 8 washers. Before the final assembly, If you want for a more custom look, you can polish the rails and extensions with mothers aluminum polish. You have the skid tore down that far, you might as well make it look pretty. (it is a lot easier to polish without having to go around all the bolt heads) After polishing we can finally bolt it all together. For those concerned about strength and rigidity, the application of GREEN LOCTITE around the axle boss and bolt-bolt holes is an option. Tighten the bolts on the rail extension in a crossing pattern to draw the two pieces together. Then install the adjuster and tighten those bolts as well. Slide a new set of full length (136”) hyfax in place. And you are ready to reassemble the rear axle, and then the skid is ready to go back into the sled.
Hope this helps those of you doing or contemplating doing this modification to your sled. It is really not that hard, and the rewards are unbelievable, you’ll have a better trail mannered sled and better off trail capabilities.
Written By:SKI
Totallyamaha is not responsible for any damages that these modifications may cause to your vehicle; any modifications are your responsibility if you choose to do so. We are providing information ONLY. Some of these modifications may VOID your warranty and that is your responsibility to look into. The Totallyamaha users have passed along most of the information found on this site. If you have any questions or concerns about anything on this site talk to your dealer before using any of the information. Totallyamaha will not be liable for any damages or personal injury from any modification performed from this site.
![]()