RX1 Carbs and Jetting Info
RX1 Carbs are quite a bit different from what we are use to working with our pre RX1 2 strokes but they are fairly simple and very similar to what Yamaha runs in there ATVs. I would like to touch on a few things for the new guys that attack there carbs for jetting and needle changes.
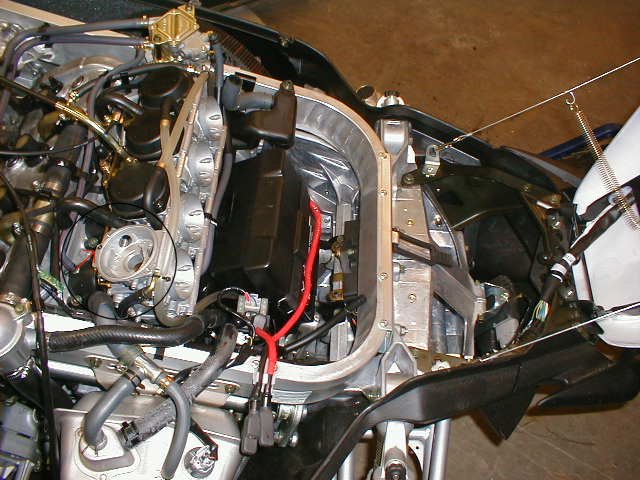
Removal of the carbs are quite simple, pull the air box strap, loosen the air box boot clamps, disconnect the 2 hoses on the underside of the box and the box is off. Use the Allen head screws on the bottom of the float bowls to remove the gas before jetting. Its nice to use a catch pan or a cut off plastic jug to catch the gas from the float bowl drains. You can then loosen the clamps from the intake boot side of the carbs and pull the carbs off the engine. For jetting, disconnect the wires the restrict the carb from being flipped over. Keep the gas lines and antifreeze lines attach and route a bungee cable around the handle bars to each side of the carb to help hold the carbs upside down. Remove the float bowls and jetting is a snap. Reverse order for install.
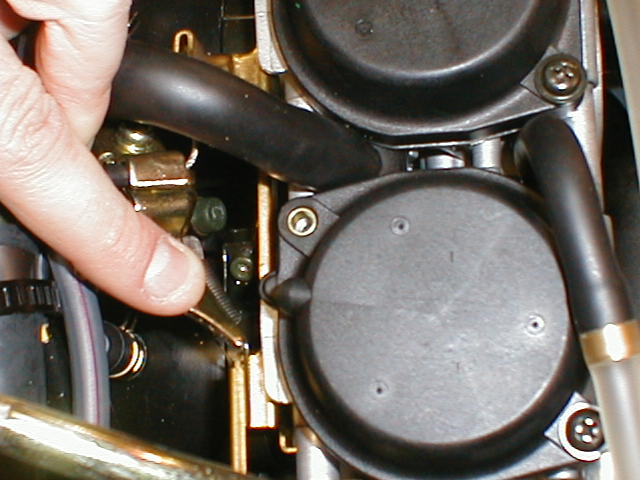
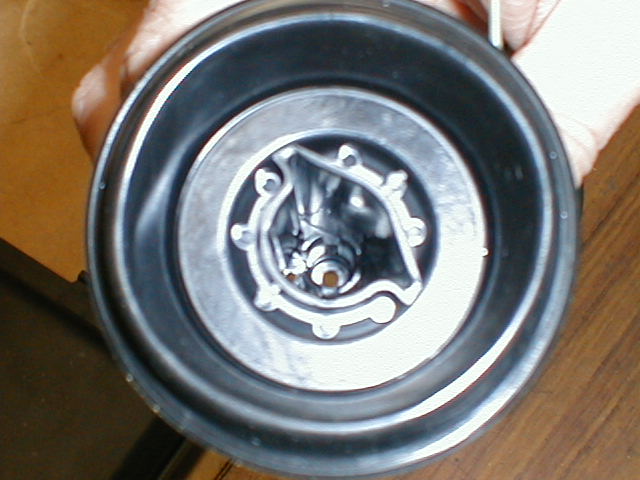
Setting the needles is a little more tricky. Pull the black caps off the top of the carb with a phillips head screw driver but hold down pressure on the caps until bothe screws are removed. Lift the cap off very slowly so not to loose the small "O-ring". See red arrow on upper picture and blown up area on picture below for "O-ring".
Note: Be Careful not to loose the spacer that in the pic below.
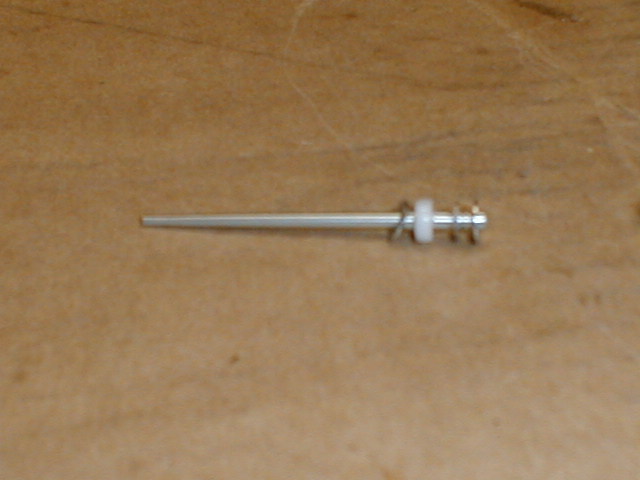
Once the Caps are removed and the "O-rings and spacer are secured, then you can pull the slide. To remove the needles, take a needle nose pliers and grab the plastic retainer and pull. Careful not to loose the small spring between the retainer and the needle.

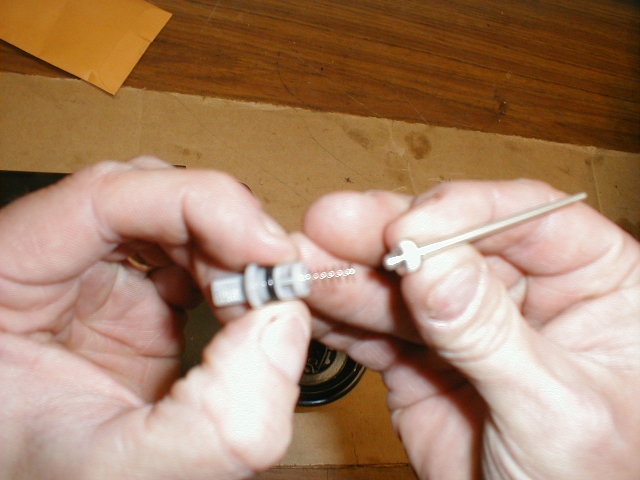
Once the needle is remove, the c-clip can now be relocated to your desired setting. Note: Keep track of the small washers above and below the needle. They will need to be put back in the same place once you have the needles set. Reinstall needles and slides in reverse order. Be sure when pushing the needle retainer back to hold the needles into the slides, a slight snap should be felt.
Any questions feel free to email the Webmaster.
Totallyamaha is not responsible for any damages that these modifications may cause to your vehicle; any modifications are your responsibility if you choose to do so. We are providing information ONLY. Some of these modifications may VOID your warranty and that is your responsibility to look into. The Totallyamaha users have passed along most of the information found on this site. If you have any questions or concerns about anything on this site talk to your dealer before using any of the information. Totallyamaha will not be liable for any damages or personal injury from any modification performed from this site.
![]()