TempaFlow installation, 1999 SRX 700
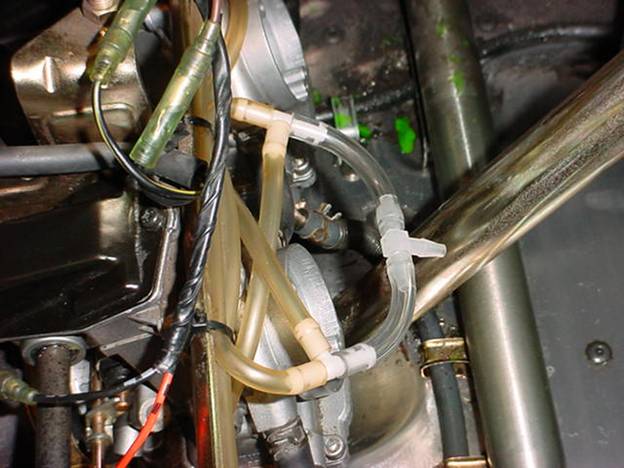
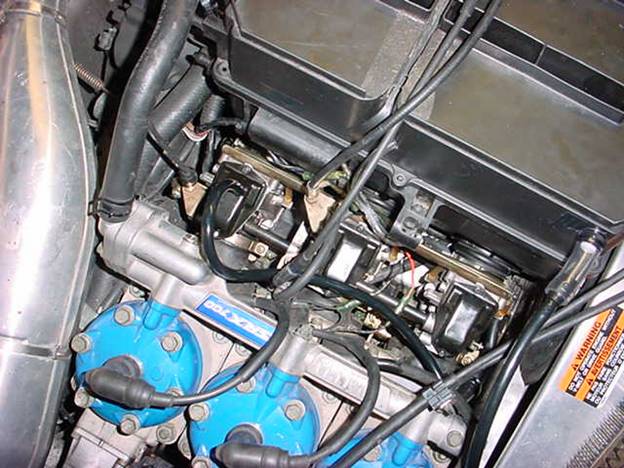
The First thing I did was to remove the two vent lines that hang down beneath the carbs, insert two short pieces of the new tubing supplied with the Tempaflow, and Tied them together.
Another shot of the carbs/lines
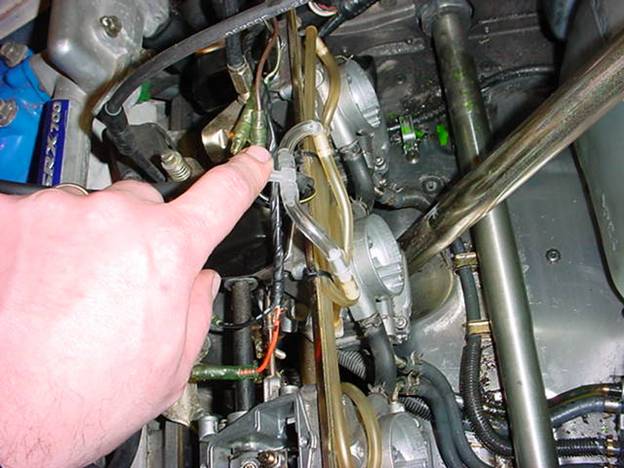
A Shot of the “vent” lines with the air box installed.

Next I installed the TempaFlow body and hoses in the "top" of the air box. The top of this picture is the bracket that mounts to the chassis. The bottom of the picture is the front of the air box. I routed the "vent" end of the TempaFlow to the back side of the air box lid, right under the bracket that mounts to the chassis. There is plenty of clearance in this area.
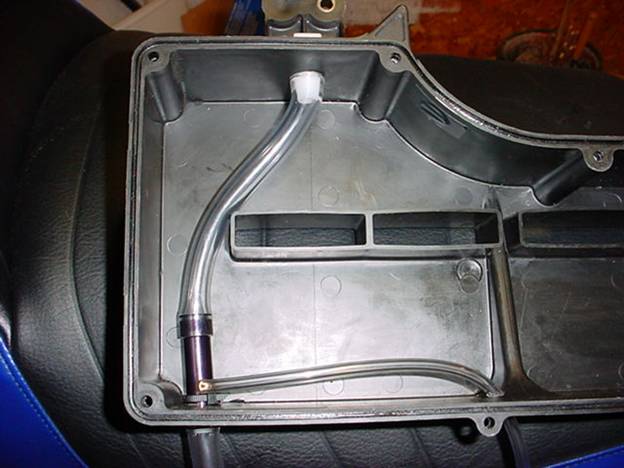
Make sure that the outlet to the "vent" tube is lower than the Tempaflow body, but not too low as to interfere with the air box shelf. Also note the exit of the line that ties into the carb vent lines. It exits in about the middle of the front of the air box lid.
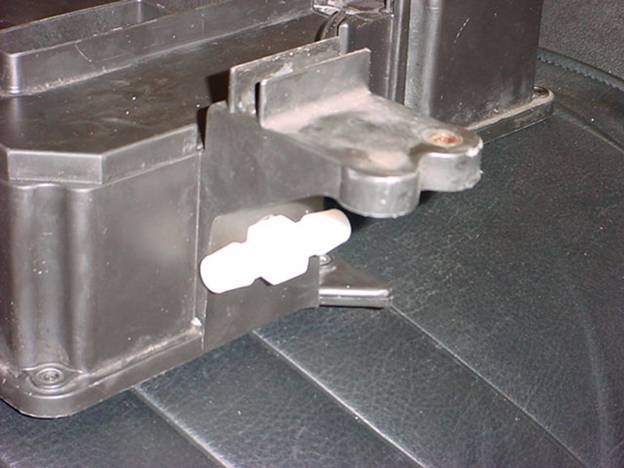

The “Reducer” and “Carb” end of the TempaFlow sticking out of the front of the Air box.
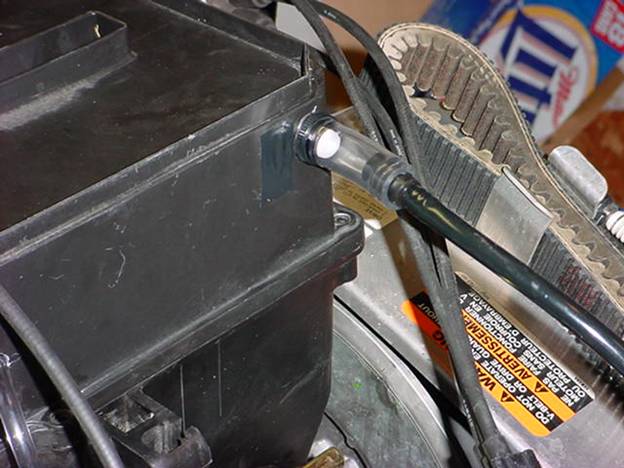
After the TempaFlow body is mounted in the air box top, you can reinstall the air box lid on the sled. I had the air box out to rejet the carbs, but if you are jetted properly (-20 at your altitude) then the air box does not even need to come off for this project.
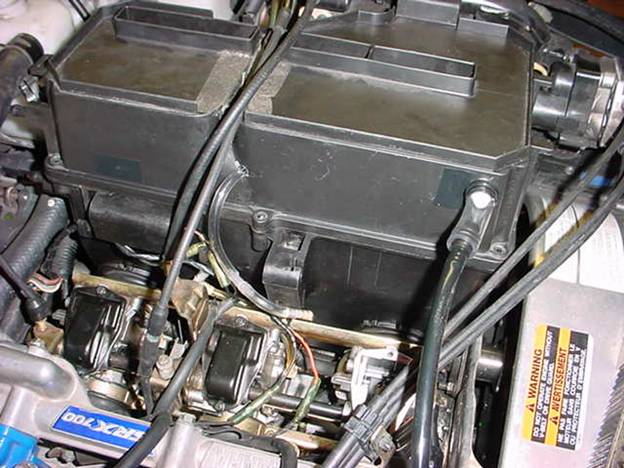
This was the first TempaFlow I had installed and "goobered" up the air box lid drilling too many holes. A new lid is on order. Here is a picture of the lid installed back in the sled.
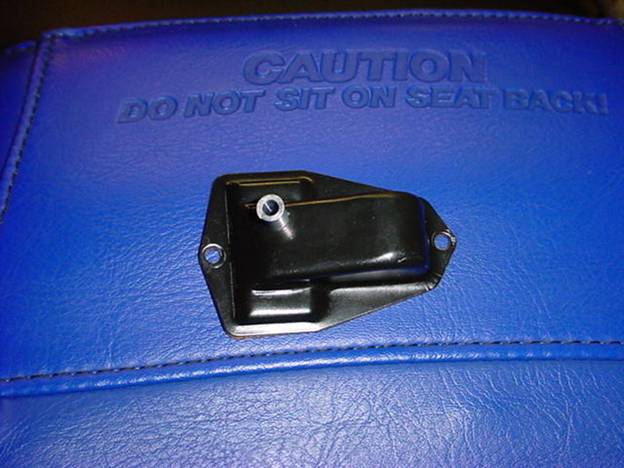
I had originally thought I would install the carb fitting on the PTO side. The TempaFlow directions state you must have from 24"-30" of line between the reducer fitting ("plugged in to the clear line coming out of air box) and the carb fitting. The line comes in the kit at 30" and I just decided to leave it. I then moved the carb fitting to the mag side. Below are pictures of the carb fitting on the cover and installed on the carb. Note: I did use epoxy to totally seal the fitting to the carb cover.
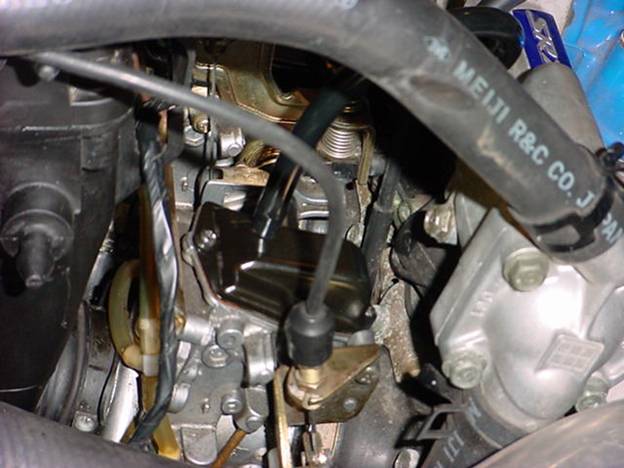
A shot of the finished product.
That is about all there is too it! A pretty simple install. Check out all clearances before drilling holes, otherwise you end up with two air box lids like me!
Happy Sledding!
SRXdude
Totallyamaha is not responsible for any damages that these modifications may cause to your vehicle; any modifications are your responsibility if you choose to do so. We are providing information ONLY. Some of these modifications may VOID your warranty and that is your responsibility to look into. The Totallyamaha users have passed along most of the information found on this site. If you have any questions or concerns about anything on this site talk to your dealer before using any of the information. Totallyamaha will not be liable for any damages or personal injury from any modification performed from this site.
![]()